Easter Sugar Cookies
There’s something so appealing about a simple sugar cookie. These festive Easter sugar cookies are soft, perfectly sweet, and ideal for decorating with colorful icing and sprinkles for your holiday celebration.

Cookie decorating brings a special touch to any Easter celebration, allowing for creativity and making memories that last well beyond the holiday. These treats are the perfect addition to your spring festivities.
Want more Easter sweets? Try my Easter Bird’s Nests Recipe!
Want more cookie inspiration? Don’t miss my Easy Cake Mix Chocolate Chip Cookie Bars!

Why You’ll Love This Recipe
- These cookies hold their shape perfectly during baking, making them ideal for decorating.
- The dough can be made ahead of time and refrigerated for convenience.
- Simple ingredients that you likely already have in your pantry.
- Fun activity to do with kids during the Easter holiday.
- Customizable with different colors and decorations.
Ingredients
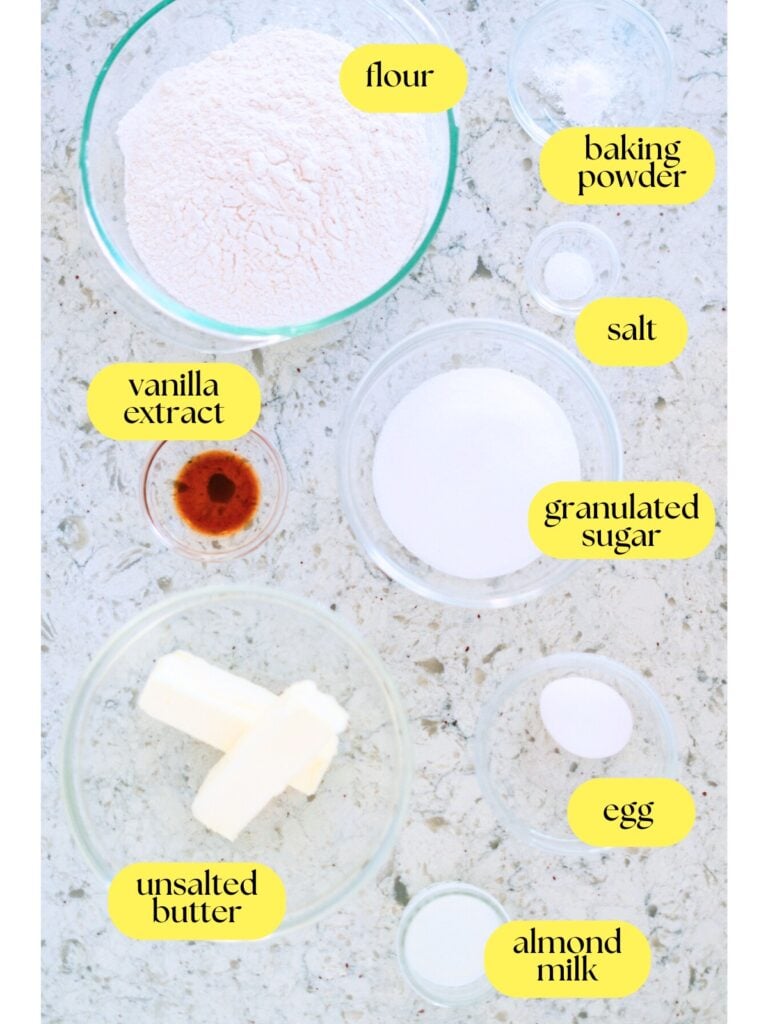
Cookie Ingredients
Unsalted Butter: Provides the rich, tender texture in these cookies and allows you to control the exact amount of salt in the recipe, resulting in a perfect flavor balance.
Granulated Sugar: Not only does this sweeten the cookies, but it also helps create that slightly crisp exterior while maintaining the soft interior that sugar cookies are known for.
Almond Milk: Adds just the right amount of moisture to bring the dough together without making it too wet and offers a subtle complementary flavor to the vanilla.
Egg: Serves as a binding agent, adding structure and stability to the cookies while contributing to their tender texture.
Vanilla Extract: Boosts all the other flavors in the cookie and provides that classic, warm sugar cookie taste that’s essential for this recipe.
Baking Powder: Gives the cookies a slight lift without causing them to spread too much, maintaining their cut-out shapes during baking.
Salt: Balances the sweetness and enhances all other flavors, making these cookies taste more complex than just sweet.
All-purpose Flour: Provides structure to the cookies and helps the cookies hold their shape but remain tender.
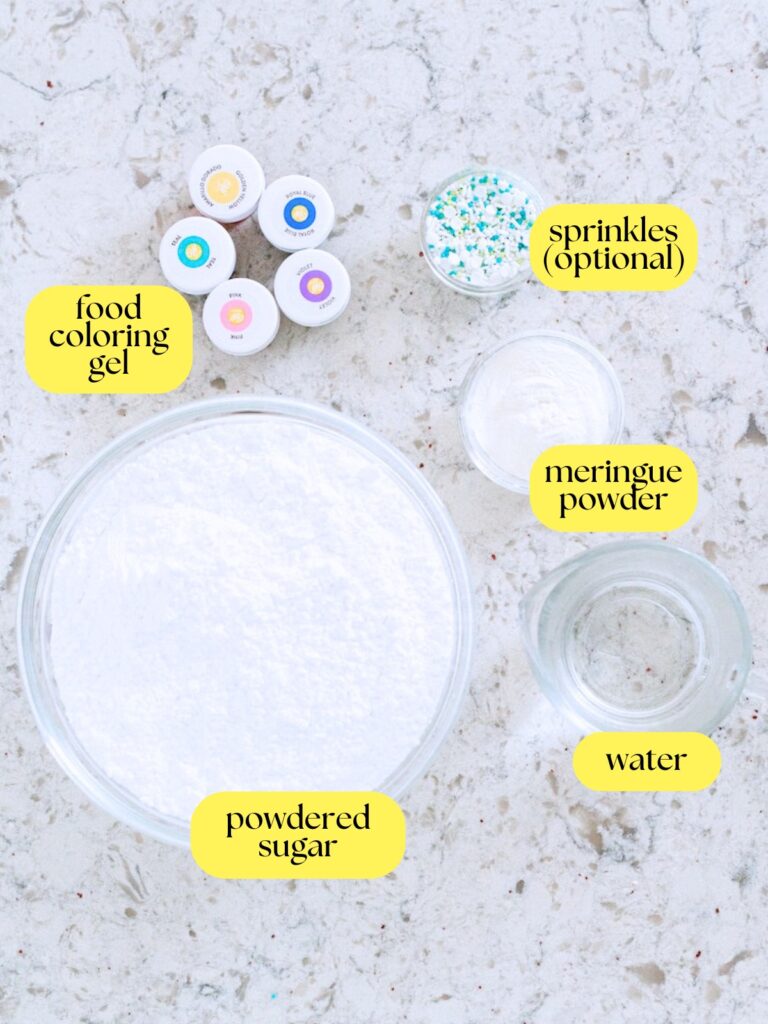
Icing Ingredients
Powdered Sugar: Creates a smooth, glossy icing that dries firm enough for stacking yet melts beautifully on your tongue when eaten.
Meringue Powder: Gives the icing stability and helps it harden properly, making your decorated cookies easier to handle and store.
Water: Thins the icing to the proper consistency, allowing it to be piped easily while still setting up firmly when dry.
Food Coloring Gel: Provides vibrant, customizable colors without thinning the icing like liquid food coloring would, ensuring your Easter designs are bright and beautiful.
Sprinkles (Optional): Add texture, color, and a festive look to your cookies, creating an extra touch of sweetness on your decorated treats.
Substitutions and Additions
- Substitute almond milk with any milk of your choice.
- Add ½ teaspoon of almond extract for a subtle flavor variation.
- Use cookie cutters in any Easter shape – I love eggs, bunnies or chicks, and flowers.
- Experiment with different sprinkle types like nonpareils, sugar crystals, or edible pearls.
Step by Step Instructions

Make The Cookie Dough
Using a stand mixer fitted with the dough attachment, combine butter and sugar until smooth, approximately 2 minutes.

Next, incorporate the vanilla extract and egg, mixing thoroughly. While the mixer runs on low, add the milk and blend until just combined.

In a separate bowl, whisk together the flour, baking powder, and salt.

Gradually add the dry ingredients to the butter mixture, mixing on low speed. Pause occasionally to scrape down the bowl to ensure everything mixes evenly.

You’ll know the dough is ready when it begins to pull away from the bowl’s sides. If the mixture remains sticky, incorporate additional flour one tablespoon at a time.
Chill the Dough
Divide the dough into portions, wrap each in parchment paper or plastic wrap, and refrigerate for 1-2 hours. This important step helps your cookies hold their shape while baking.
Roll and Bake The Dough
Heat your oven to 375°F.
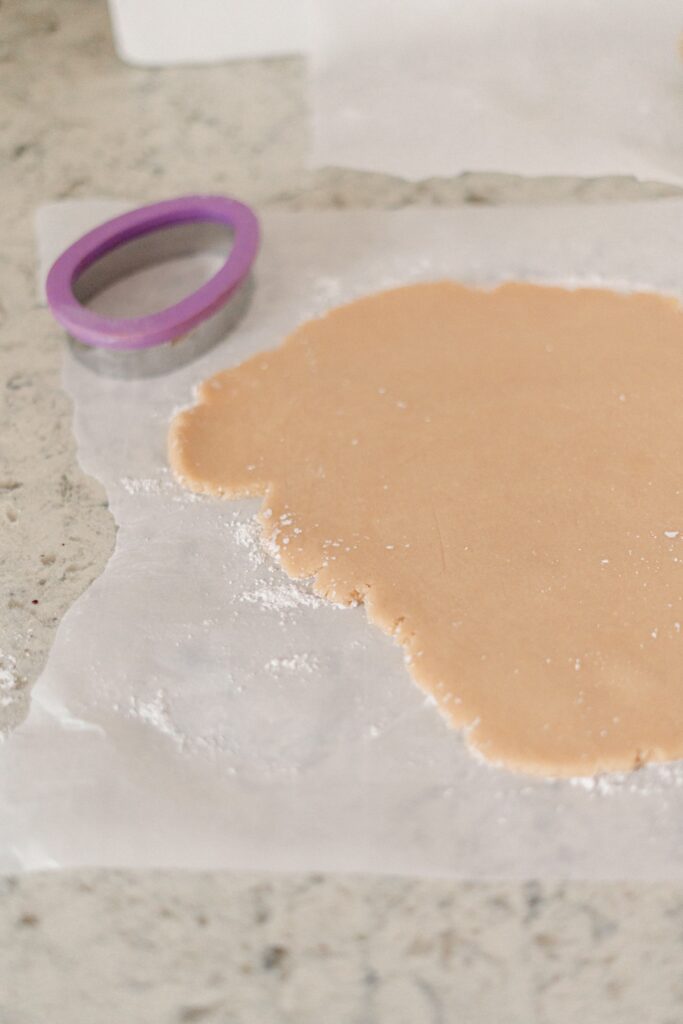
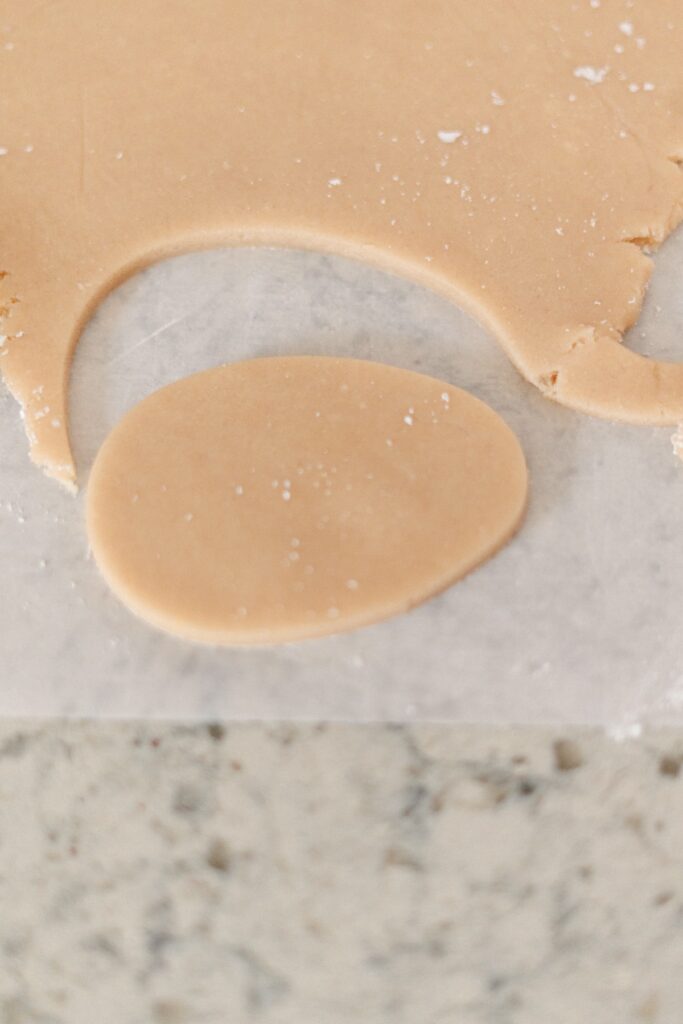
Sprinkle a light coating of powdered sugar on parchment paper. After chilling, briefly knead the dough and place it on the prepared parchment.
To prevent sticking, cover the dough with another sheet of parchment paper before rolling to approximately ¼ inch thickness.
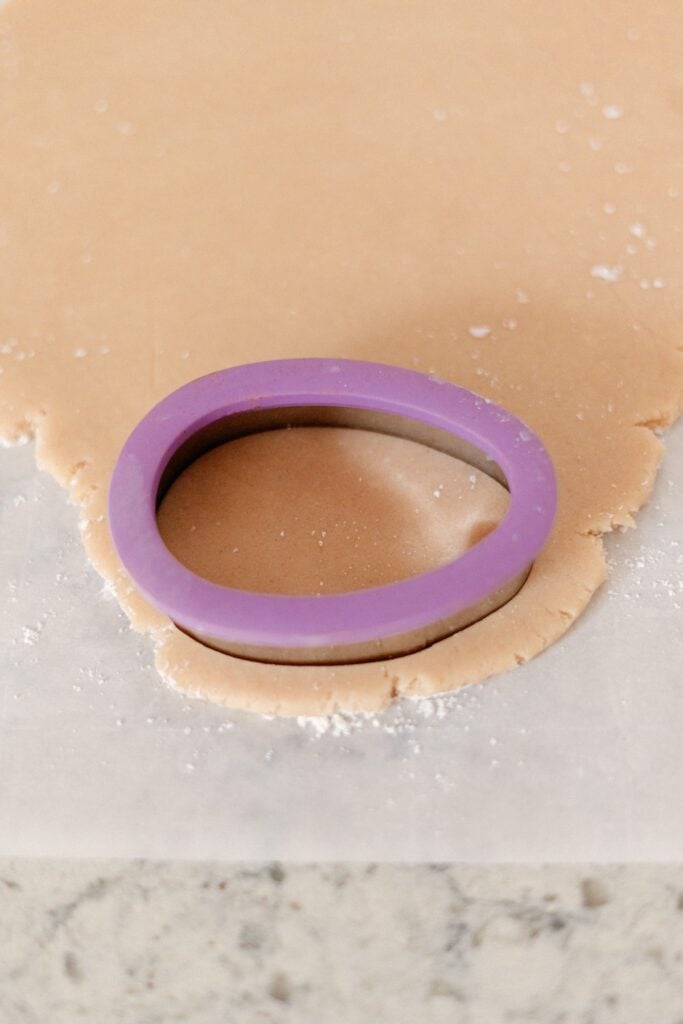
Cut into shapes and transfer to a parchment-lined baking sheet.
Bake until the edges just start to turn golden, about 7-9 minutes. Let the cookies cool completely before decorating them (see below).
Make The Icing

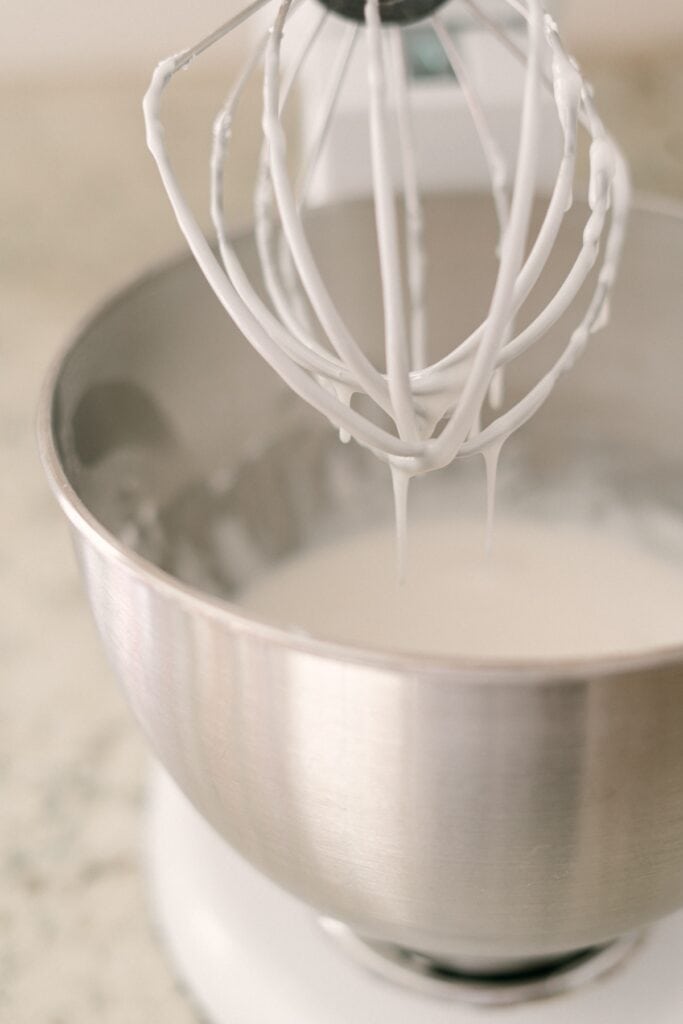
In a mixing bowl, combine the powdered sugar, meringue powder, and water, beating until thoroughly mixed.
The icing consistency can sometimes be challenging to get just right.
This recipe intentionally produces a thicker icing that’s more manageable, particularly when decorating with children. If you find it too stiff to work with, gradually incorporate additional water (one tablespoon at a time) until you reach your preferred consistency.
Separate the icing into smaller bowls and incorporate food coloring gel to create your desired colors, then transfer to piping bags for decorating.
Decorate The Cookies
For flooding-style decoration (a technique where you fill in a bordered area with icing to create a smooth, flat surface), first pipe an outline around the edge of each cookie, then fill the center by working your way inward with icing.
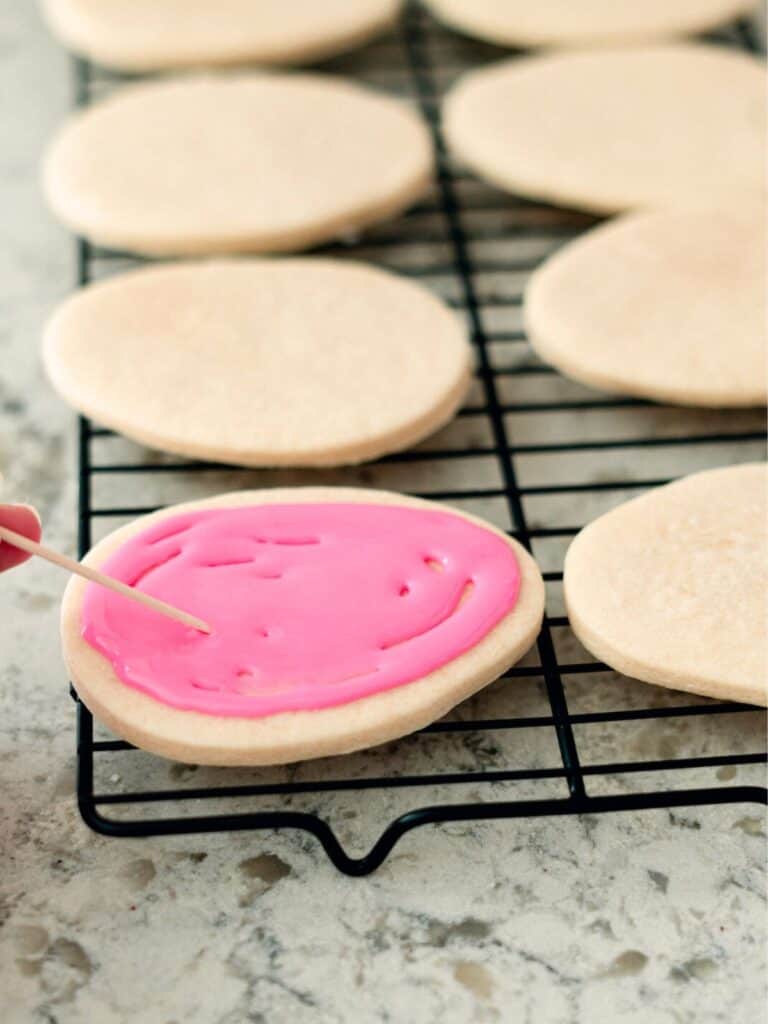
If you notice any unfilled areas, use a toothpick to gently pull the icing into those spaces with circular motions.
While the icing is still wet, add sprinkles or other decorations if desired.
Cool The Cookies
Allow the cookies to dry thoroughly (several hours to overnight) before stacking or storing them.
Tips and Notes
- Chilling the dough helps the cookies keep their shape when baking.
- If the dough warms up while rolling, return it to the refrigerator to chill again.
- Getting the perfect icing consistency can be tricky – start thick and gradually thin with water as needed.
- The icing will smooth out as it dries, so don’t worry about small imperfections.
- For best results, let decorated cookies dry completely (several hours or overnight) before storing.
Serving Suggestions
- Serve on a decorative platter as the centerpiece of your Easter dessert table.
- Package the cookies in cellophane bags tied with pastel ribbon for a thoughtful homemade gift.
- Create a cookie decorating station at your Easter gathering for a fun, interactive activity.
- Pair with a glass of milk for the perfect sweet treat.

Storage and Reheating Instructions
- Store undecorated cookies in an airtight container at room temperature for up to 1 week.
- Decorated cookies with royal icing can be stored in a single layer or between layers of parchment paper in an airtight container for up to 2 weeks.
- Freeze undecorated cookies for up to 3 months; thaw at room temperature before decorating.
- Cookie dough can be refrigerated for up to 3 days or frozen for up to 3 months.

Easter Sugar Cookies
Ingredients
Cookie Ingredients
- 1 cup unsalted butter softened
- 1 cup granulated sugar
- 1.5 tablespoons almond milk or your milk preference
- 1 large egg
- 1 teaspoonful vanilla extract
- ¾ teaspoon baking powder
- ¼ teaspoon salt
- 3 cups all purpose flour spooned and leveled
Icing Ingredients
- 2 lb powdered sugar extra needed for rolling out dough
- 4 teaspoons meringue powder
- ⅔ cup water
- Food coloring gel
- Sprinkles if desired
Instructions
Make The Cookie Dough
- Using a stand mixer fitted with the dough attachment, combine butter and sugar until smooth, approximately 2 minutes.
- Next, incorporate the vanilla extract and egg, mixing thoroughly. While the mixer runs on low, add the milk and blend until just combined.
- In a separate bowl, whisk together the flour, baking powder, and salt.
- Gradually add the dry ingredients to the butter mixture, mixing on low speed. Pause occasionally to scrape down the bowl to ensure everything mixes evenly.
- You’ll know the dough is ready when it begins to pull away from the bowl’s sides. If the mixture remains sticky, incorporate additional flour one tablespoon at a time.
Chill the Dough
- Divide the dough into portions, wrap each in parchment paper or plastic wrap, and refrigerate for 1-2 hours. This important step helps your cookies hold their shape while baking.
Roll and Bake The Dough
- Heat your oven to 375°F.
- Sprinkle a light coating of powdered sugar on parchment paper. After chilling, briefly knead the dough and place it on the prepared parchment.
- To prevent sticking, cover the dough with another sheet of parchment paper before rolling to approximately ¼ inch thickness.
- Cut into shapes and transfer to a parchment-lined baking sheet.
- Bake until the edges just start to turn golden, about 7-9 minutes. Let the cookies cool completely before decorating them (see below).
Make The Icing
- In a mixing bowl, combine the powdered sugar, meringue powder, and water, beating until thoroughly mixed.
- The icing consistency can sometimes be challenging to get just right.
- This recipe intentionally produces a thicker icing that’s more manageable, particularly when decorating with children. If you find it too stiff to work with, gradually incorporate additional water (one tablespoon at a time) until you reach your preferred consistency.
- Separate the icing into smaller bowls and incorporate food coloring gel to create your desired colors, then transfer to piping bags for decorating.
Decorate The Cookies
- For flooding-style decoration (a technique where you fill in a bordered area with icing to create a smooth, flat surface), first pipe an outline around the edge of each cookie, then fill the center by working your way inward with icing.
- If you notice any unfilled areas, use a toothpick to gently pull the icing into those spaces with circular motions.
- While the icing is still wet, add sprinkles or other decorations if desired.
Cool The Cookies
- Allow the cookies to dry thoroughly (several hours to overnight) before stacking or storing them.
Notes
- Chilling the dough helps the cookies keep their shape when baking.
- If the dough warms up while rolling, return it to the refrigerator to chill again.
- Getting the perfect icing consistency can be tricky – start thick and gradually thin with water as needed.
- The icing will smooth out as it dries, so don’t worry about small imperfections.
- For best results, let decorated cookies dry completely (several hours or overnight) before storing.