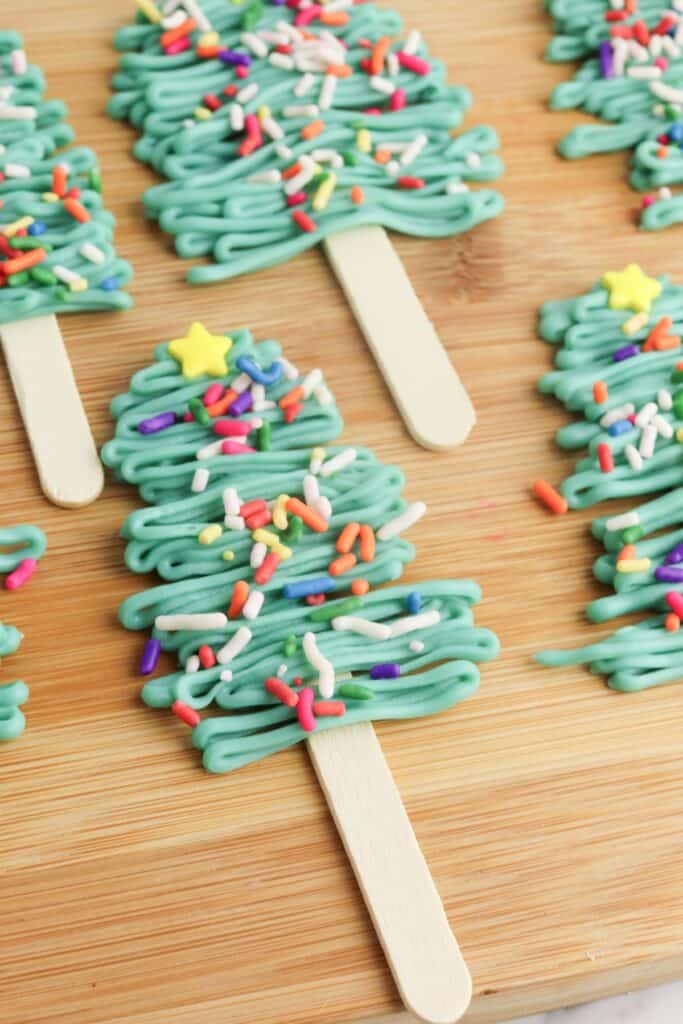
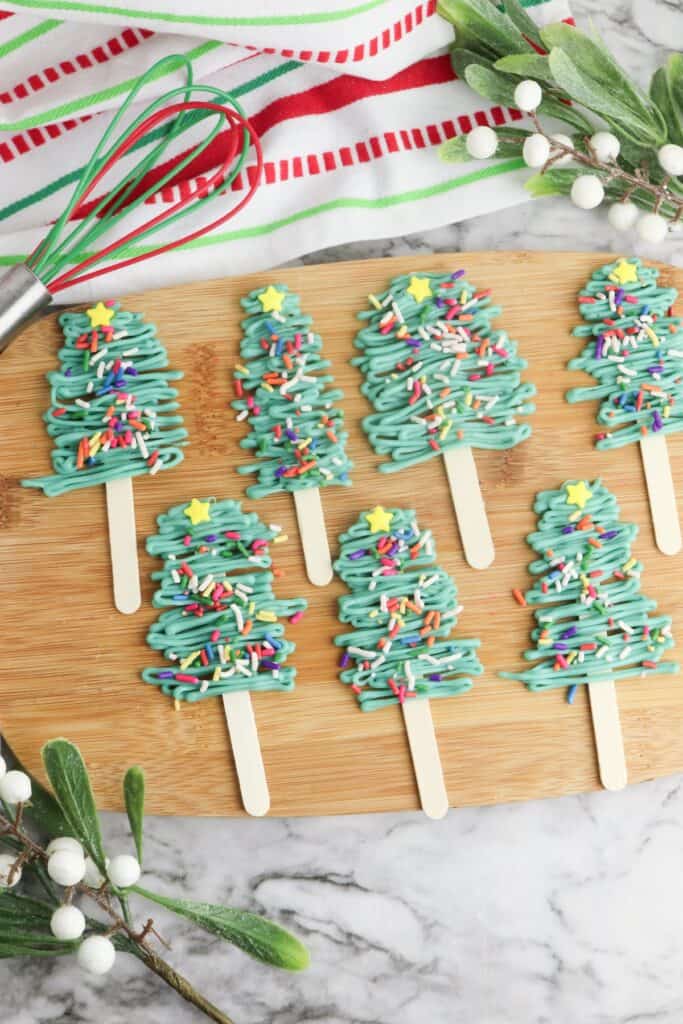
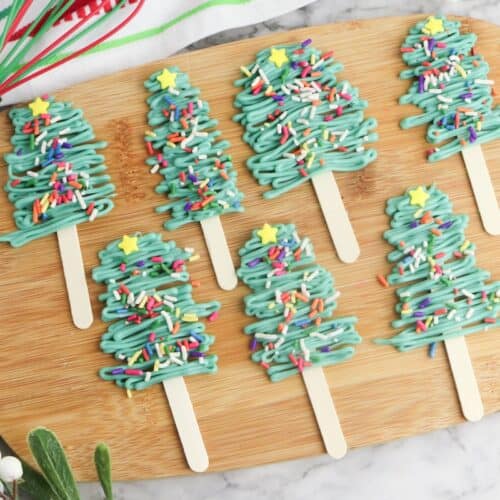
Christmas Tree Pops
The holidays are the perfect excuse to get creative in the kitchen, and these Christmas Tree Pops are a fun way to do it. They’re festive, colorful, and so simple that kids and adults alike can enjoy making them. Plus, you only need a handful of ingredients, which makes this recipe a stress-free holiday win.

These little treats are a playful way to bring everyone together during the holiday season. Everyone will want to decorate their own “tree,” and who knows, maybe it will quickly turn into a new tradition!
If you’re looking for more holiday sweets, try my Christmas Light Cupcakes, Christmas Tree Cupcakes, or Christmas Tree Oreos. They’re all easy, festive, and perfect for gifting or entertaining.
Why You’ll Love This Recipe
- Quick to make with no baking required.
- A fun activity for kids and families to enjoy together.
- Budget-friendly and uses just a few ingredients.
- Perfect for parties, classroom treats, or holiday movie nights.
Ingredients
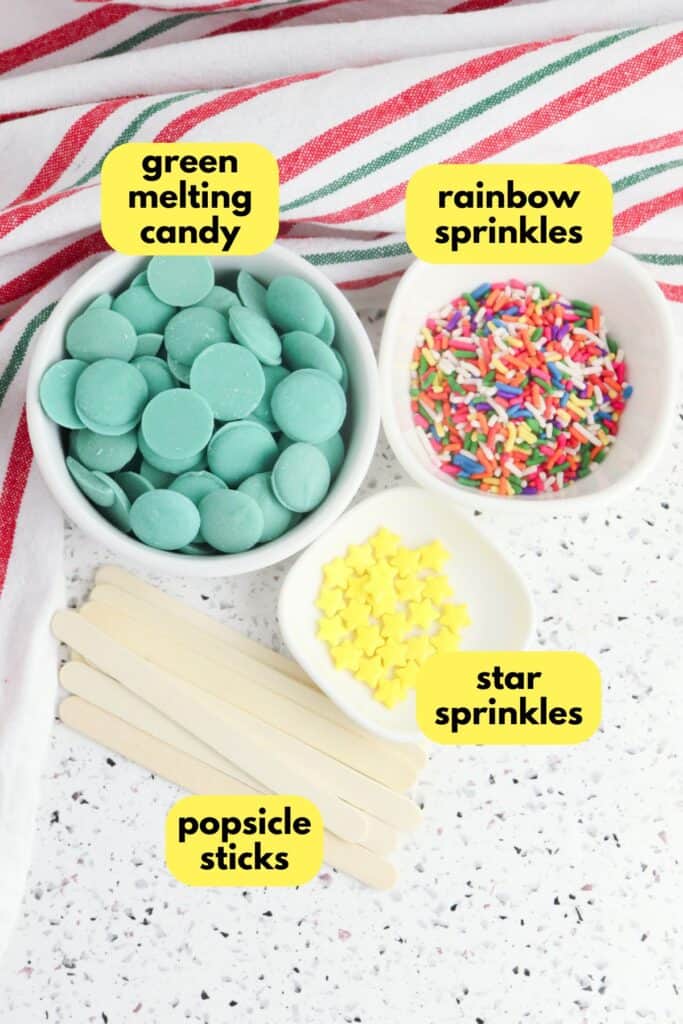
- Green Melting Candy: This is the “base” of the Christmas tree and provides the color. It melts smoothly and hardens quickly, making it easy to pipe into shapes.
- Star Sprinkles: These act as the topper for your tree, adding that finishing touch. They instantly make each pop look more festive.
- Rainbow Sprinkles: Think of these as your ornaments. They give pops of color and a playful look, while also adding a little crunch.
- Popsicle Sticks: These serve as the “trunk” of your Christmas tree and make the treat easy to hold. They also turn the recipe into a fun grab-and-go snack.
Substitutions and Additions
- White Chocolate Chips: Instead of green candy melts, tint melted white chocolate with green food coloring.
- Gold or Silver Sprinkles: Swap out rainbow sprinkles for metallic ones if you want a more elegant look.
- Mini M&Ms: Use these as “ornaments” for a chunkier, chocolatey decoration.
- Lollipop Sticks: Use lollipop sticks instead of popsicle sticks for smaller pops.
Step by Step Instructions
Melt the Candy
Place the green melting candy into a microwave-safe bowl and heat in 30-second intervals, stirring until smooth. Transfer the melted candy to a piping bag.
Prepare the Base
Lay out a sheet of parchment paper on a baking tray. Arrange the popsicle sticks about one inch apart so you’ll have enough space to pipe your trees.
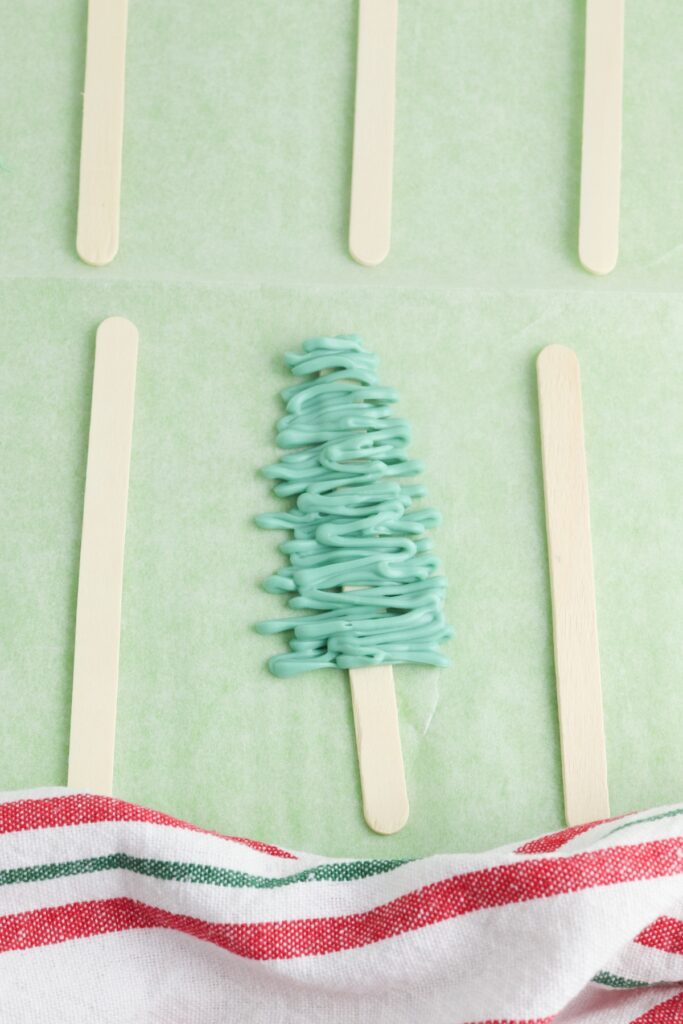
Pipe the Trees
Snip off the tip of the piping bag. Starting at the top of a stick, drizzle the melted candy back and forth in a triangular shape, creating the look of a Christmas tree.
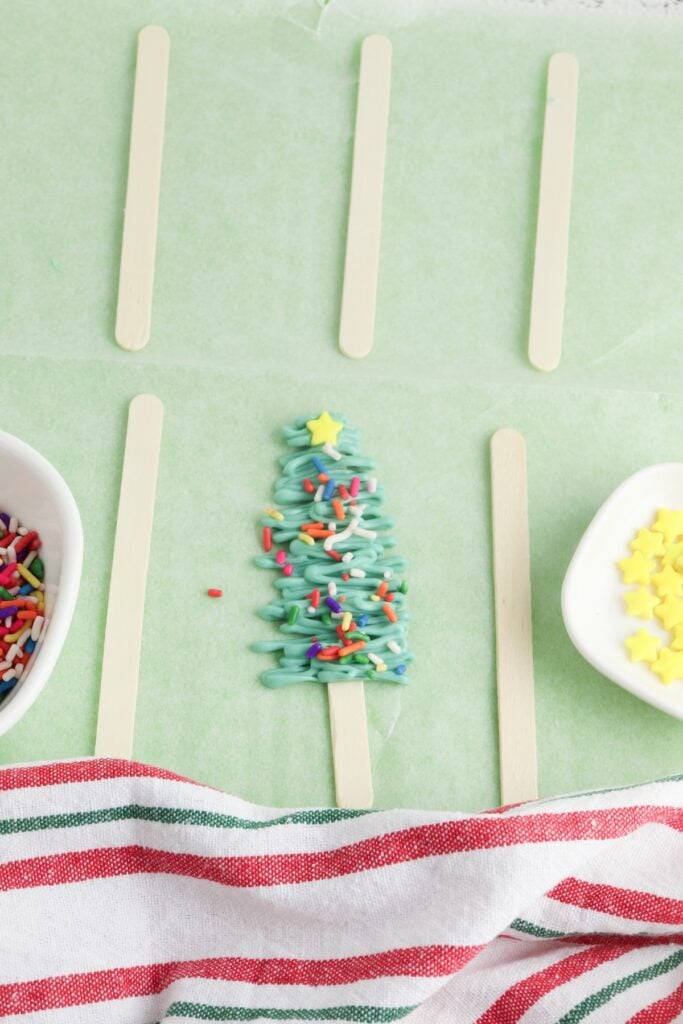
Decorate
Quickly press a star sprinkle onto the top before the candy sets. Sprinkle rainbow sprinkles over the “tree” to mimic ornaments.

Set and Serve
Let the candy trees sit at room temperature until firm, or place the tray in the fridge for quicker results. Once hardened, carefully peel them off the parchment and serve. Enjoy!
Tips and Notes
- Work in Batches: If you’re making a large batch, melt the candy in smaller portions instead of all at once. This keeps the candy smooth and prevents it from hardening while you’re still decorating.
- Use a Piping Bag with Control: A piping bag gives you the neatest lines, but if you don’t have one, use a zip-top bag with a corner snipped off. Cut a very small opening for cleaner zig-zag “branches.”
- Chill for Faster Results: If you’re short on time, place the tray of pops in the refrigerator for 10–15 minutes. The candy hardens much faster this way and helps the decorations stick firmly.
- Keep Decorations Handy: Have your sprinkles, stars, and any extras ready before you start piping. Once the candy is piped, you’ll need to decorate right away so everything adheres properly.
- Get the Kids Involved: This recipe is perfect for kids, since it doubles as a craft. Let them decorate their own trees with different sprinkles, candy pieces, or even edible glitter.
- Store Properly: Layer parchment paper between pops if stacking them in a container. This prevents the decorations from sticking together or breaking.
Serving Suggestions
- Serve at Holiday Parties: Arrange them on a festive platter and let guests pick their favorite.
- Pair with Hot Cocoa: The sweetness of the pops goes perfectly with a cozy mug of cocoa.
- Gift Idea: Wrap each pop in clear cellophane and tie with a ribbon for homemade gifts.
- Kids’ Craft Treat: Set up a decorating station and let kids decorate their own trees.
Storage and Reheating Instructions
- Store pops in an airtight container at room temperature for up to one week.
- For longer storage, refrigerate them for up to two weeks.
- Avoid humid areas so the candy doesn’t soften or get sticky.
- No reheating needed – enjoy as-is.
Christmas Tree Pops
Ingredients
- 12 ounces green melting candy
- Star sprinkles
- Rainbow sprinkles
- 20 popsicle sticks
Instructions
- Place the green melting candy into a microwave-safe bowl and heat in 30-second intervals, stirring until smooth. Transfer the melted candy to a piping bag.
- Lay out a sheet of parchment paper on a baking tray. Arrange the popsicle sticks about one inch apart so you’ll have enough space to pipe your trees.
- Snip off the tip of the piping bag. Starting at the top of a stick, drizzle the melted candy back and forth in a triangular shape, creating the look of a Christmas tree.
- Quickly press a star sprinkle onto the top before the candy sets. Sprinkle rainbow sprinkles over the “tree” to mimic ornaments.
- Let the candy trees sit at room temperature until firm, or place the tray in the fridge for quicker results. Once hardened, carefully peel them off the parchment and serve. Enjoy!


