Peppermint Chocolate Covered Oreos (4 Ingredients)
The holiday season calls for treats that are simple, festive, and delicious. These Peppermint Chocolate Covered Oreos check all the boxes – they’re quick to make, fun to decorate, and loved by kids and adults alike. With just a handful of ingredients, you’ll have a dessert that looks impressive but comes together in no time.

I’ve been making these cookies for years around Christmas, and they’re always one of the first treats to disappear at holiday gatherings. They’re also one of my favorite edible gifts to package up in pretty tins for neighbors and friends.
If you love this recipe, you may also want to check out my Peppermint Brownie Christmas Trees, Christmas Tree Oreos, or Chocolate Oreo Cheesecake Cookies for more seasonal sweets.

Why You’ll Love This Recipe
- It only takes about 20 minutes from start to finish.
- You need just 4 basic ingredients.
- It’s a no-bake dessert, perfect when you want something quick.
- The cookies look festive with very little effort.
- Great for gifting, holiday parties, or cookie exchanges.
Ingredients

- Oreo Cookies: The classic chocolate sandwich cookies act as the base. Their rich cocoa flavor pairs perfectly with peppermint and chocolate coatings.
- White Melting Chocolate Wafers: Wafers melt smoothly and create a creamy, sweet coating that balances the stronger peppermint flavor.
- Dark Melting Chocolate Wafers: Using dark chocolate gives a nice contrast in flavor and color. The slight bitterness also offsets the sweetness of the cookies and peppermint.
- Crushed Peppermint: Adds a crunchy texture, a refreshing burst of mint, and the festive holiday look with red and white pieces sprinkled on top.
Substitutions and Additions
- Different Cookie Base: Try golden Oreos, mint Oreos, or even chocolate wafer cookies for a fun twist.
- Candy Cane Pieces: Swap crushed peppermint with crushed candy canes – they melt slightly into the chocolate for extra flavor.
- Sprinkles: Red, green, or holiday-themed sprinkles are a fun swap if you’d like less peppermint.
- Drizzle Effect: Melt extra chocolate and drizzle white over dark-coated cookies (or vice versa) for a bakery-style finish.
Step by Step Instructions
Prepare Your Baking Sheet
Line a baking sheet with parchment paper or wax paper. This keeps the cookies from sticking and makes cleanup easier.
Melt the Chocolate
Place your white melting wafers in a microwave-safe bowl. Heat in 30-second intervals, stirring well after each round, until smooth and glossy. Repeat this process with the dark chocolate wafers in a separate bowl.
Dip the Oreos in Chocolate

Take one Oreo and dip it about three-quarters of the way into the melted white chocolate. Give it a gentle twist to fully coat the cookie, letting excess chocolate drip off before placing it on the prepared baking sheet. Repeat with 7 more Oreos for the white chocolate batch.
Add the Peppermint Topping
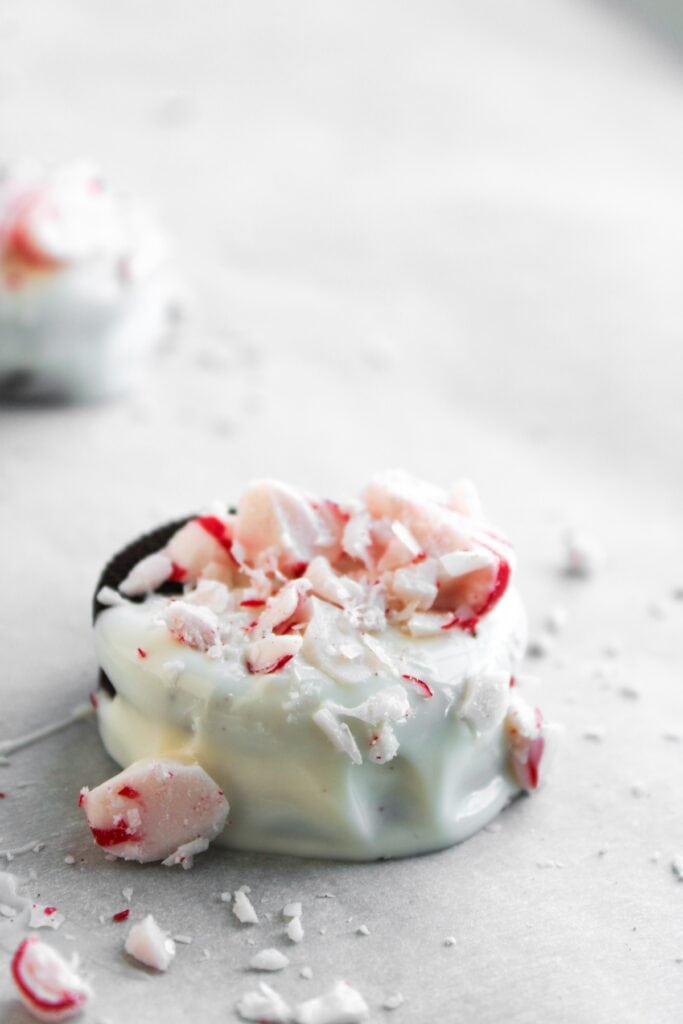
While the chocolate is still wet, sprinkle crushed peppermint over the cookies. Press lightly so the peppermint sticks to the coating.
Repeat with Dark Chocolate

Dip the remaining Oreos into the melted dark chocolate the same way, then top with peppermint pieces.
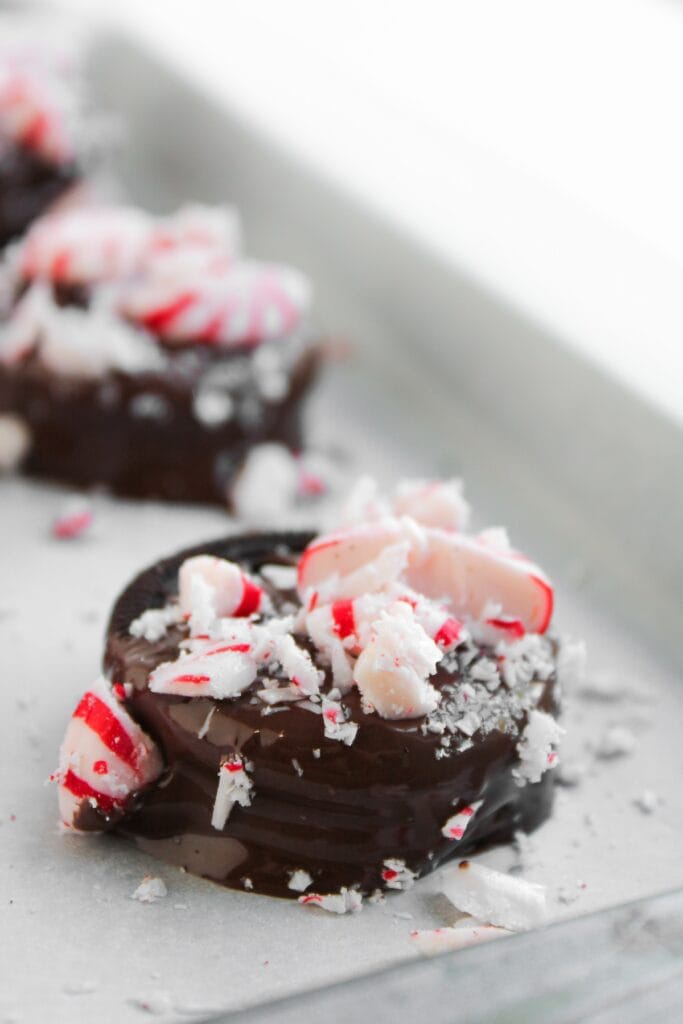
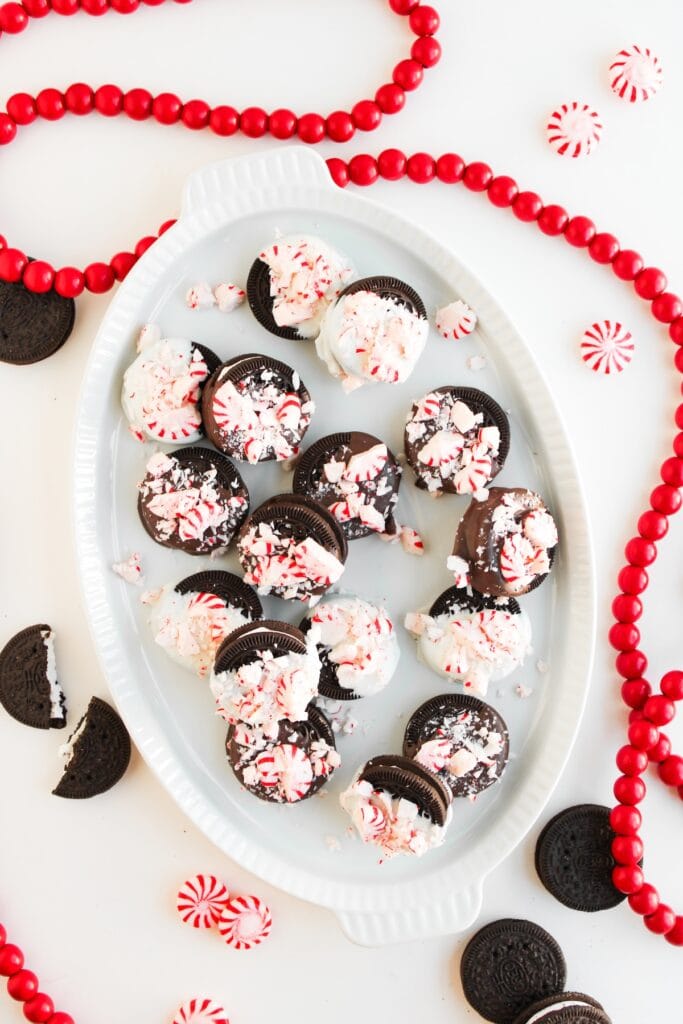
You should end up with half white chocolate–covered cookies and half dark chocolate–covered cookies.
Set the Cookies

Leave the baking sheet at room temperature until the chocolate hardens. If you’d like to speed things up, you can place the tray in the refrigerator for about 10–15 minutes. Enjoy!

Tips and Notes
- Use Quality Chocolate: Choose good melting wafers so your chocolate coats evenly and sets with a nice snap.
- Work Quickly: Once the cookies are dipped, sprinkle peppermint right away before the chocolate begins to harden.
- Crushing Peppermint: Place candy in a zip-top bag and crush with a rolling pin for even pieces without too much dust.
- Avoid Overheating Chocolate: Melt in short bursts and stir often – overheated chocolate can become grainy and hard to work with.
Serving Suggestions
- Serve with Hot Cocoa: These cookies pair perfectly with a mug of creamy hot chocolate.
- Gift in Holiday Tins: Wrap a few cookies in parchment and place them in a festive tin for an easy edible gift.
- Add to Dessert Platters: Include them alongside other cookies and bars for a holiday spread.
- Crush and Use as Topping: Break leftover cookies into pieces and sprinkle over ice cream for a peppermint sundae.
Storage and Reheating Instructions
- Store cookies in an airtight container at room temperature for up to 5 days.
- If stacking, place parchment between layers so the chocolate doesn’t stick.
- For longer storage, refrigerate the cookies for up to 2 weeks.
- These cookies can also be frozen for up to 2 months; thaw at room temperature before serving.

Peppermint Chocolate Covered Oreos (4 Ingredients)
Ingredients
- 16 Oreo Cookies
- 1 cup white melting chocolate wafers
- 1 cup dark melting chocolate wafers
- ½ cup crushed peppermint
Instructions
- Line a baking sheet with parchment paper or wax paper. This keeps the cookies from sticking and makes cleanup easier.
- Place your white melting wafers in a microwave-safe bowl. Heat in 30-second intervals, stirring well after each round, until smooth and glossy. Repeat this process with the dark chocolate wafers in a separate bowl.
- Take one Oreo and dip it about three-quarters of the way into the melted white chocolate. Give it a gentle twist to fully coat the cookie, letting excess chocolate drip off before placing it on the prepared baking sheet. Repeat with 7 more Oreos for the white chocolate batch.
- While the chocolate is still wet, sprinkle crushed peppermint over the cookies. Press lightly so the peppermint sticks to the coating.
- Dip the remaining Oreos into the melted dark chocolate the same way, then top with peppermint pieces.
- You should end up with half white chocolate–covered cookies and half dark chocolate–covered cookies.
- Leave the baking sheet at room temperature until the chocolate hardens. If you’d like to speed things up, you can place the tray in the refrigerator for about 10–15 minutes. Enjoy!


