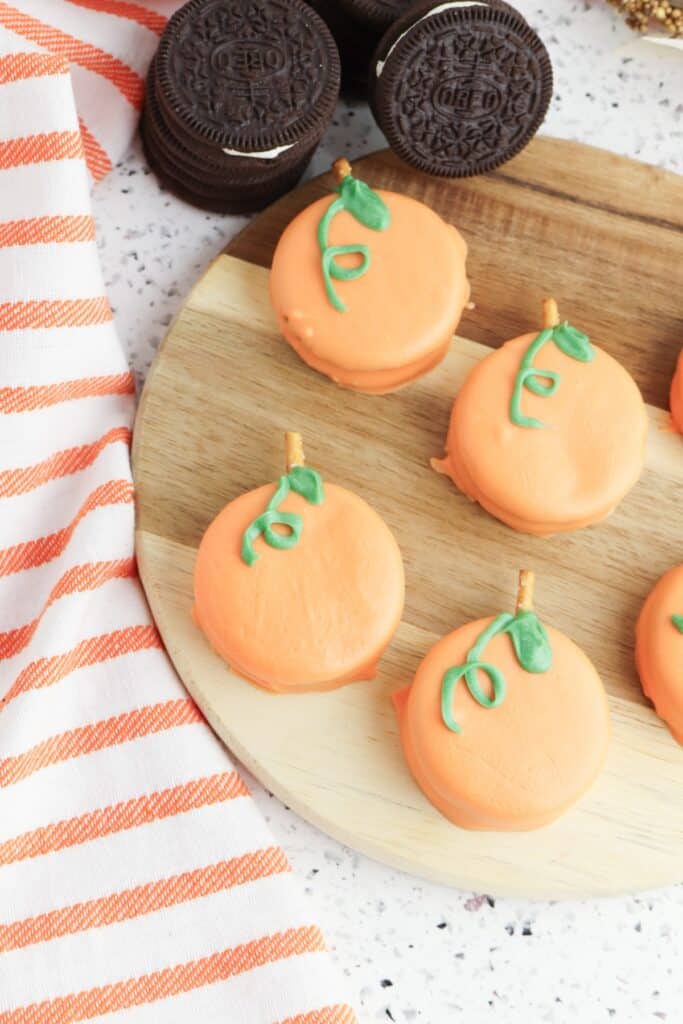
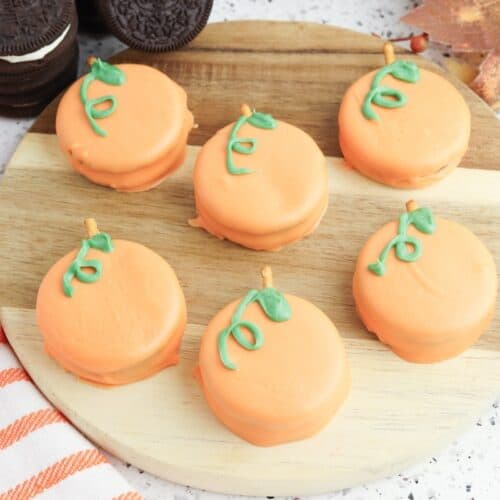
Easy Pumpkin Oreos
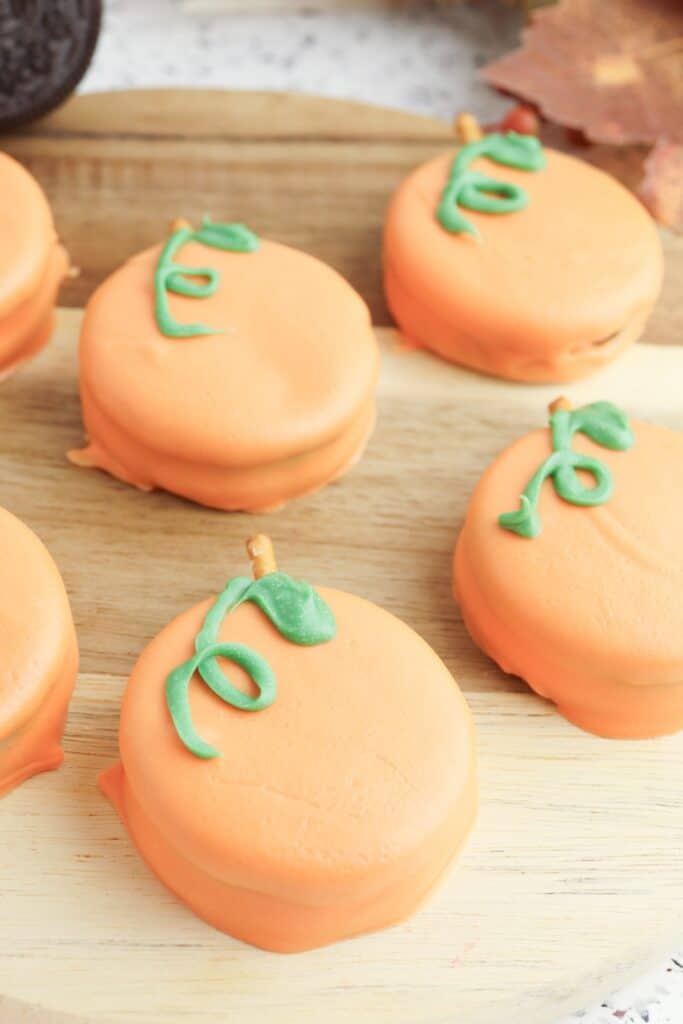
If you’re looking for a fall treat that’s fun to make and even more fun to eat, these Oreo Pumpkins are it. With just a few simple ingredients, you can turn basic cookies into the cutest little pumpkins – no baking required. They’re perfect for classroom parties, weekend movie nights, or a quick project with the kids.

Every fall, I like to mix in at least one easy dessert that doesn’t involve the oven – especially when it’s something that involves Oreos! These cute little pumpkin cookies are always a hit. For more Oreo and fall-inspired ideas, check out my Oreo Cheesecake Cookies, Pumpkin Pie Sugar Cookies, and Easy Mini Turkey Cupcakes.
Why You’ll Love This Recipe
- No Baking Needed: Just melt, dip, and decorate – perfect for when you want a quick win.
- So Much Fun To Make: Kids love helping with dipping and decorating each “pumpkin.”
- Great For Parties: These look so cute on a Halloween dessert table or as edible party favors.
- Simple Ingredients: You only need a few things to create a festive and impressive treat.
Ingredients
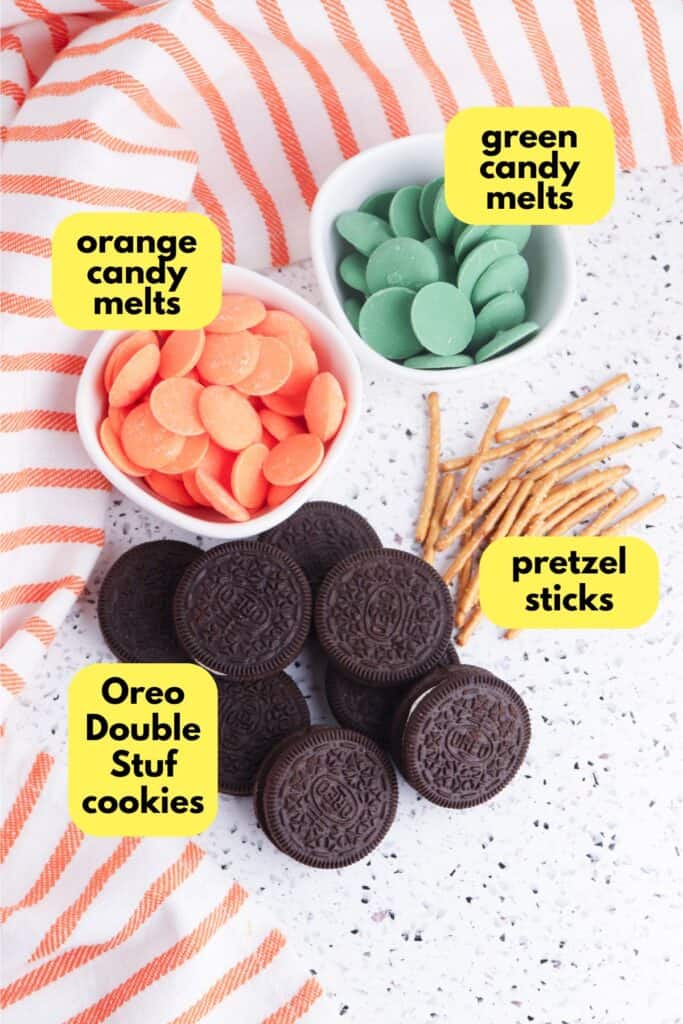
- Oreo Double Stuf Cookies: These serve as the base of each pumpkin. The thicker filling makes it easier to insert the pretzel stem without breaking the cookie.
- Pretzel Sticks: Broken in half to act as the pumpkin stem. They add a little salty crunch and hold their shape well.
- Orange Candy Melts: Candy melts gives the pumpkins their festive color. They melt smoothly and coat the Oreos evenly for a bright, glossy finish.
- Green Candy Melts: Used to pipe leaves and vines for decoration. It adds detail that brings the pumpkins to life and makes each one unique.
Substitutions and Additions
- Chocolate Coating Swap: You can use white chocolate chips mixed with orange food coloring if you don’t have candy melts.
- Use Mini Oreos: Make tiny pumpkins using mini Oreos for a bite-sized version.
- No Piping Bag? Use a plastic sandwich bag with the corner snipped off to pipe the green candy.
- Add Candy Faces: Turn these into jack-o’-lanterns by sticking on mini candy eyes or drawing faces with melted dark chocolate.
Step by Step Instructions
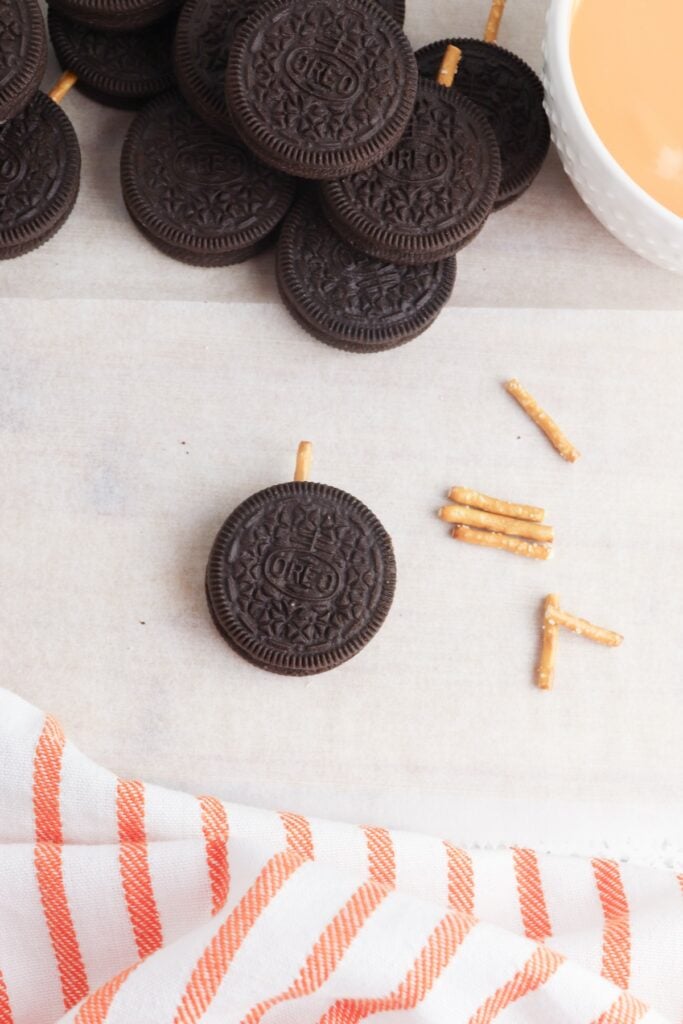
Step 1: Insert the Pretzel Stem
Gently press half a pretzel stick into the top of each Oreo cookie. Try to go through the cream center so the cookie stays intact.
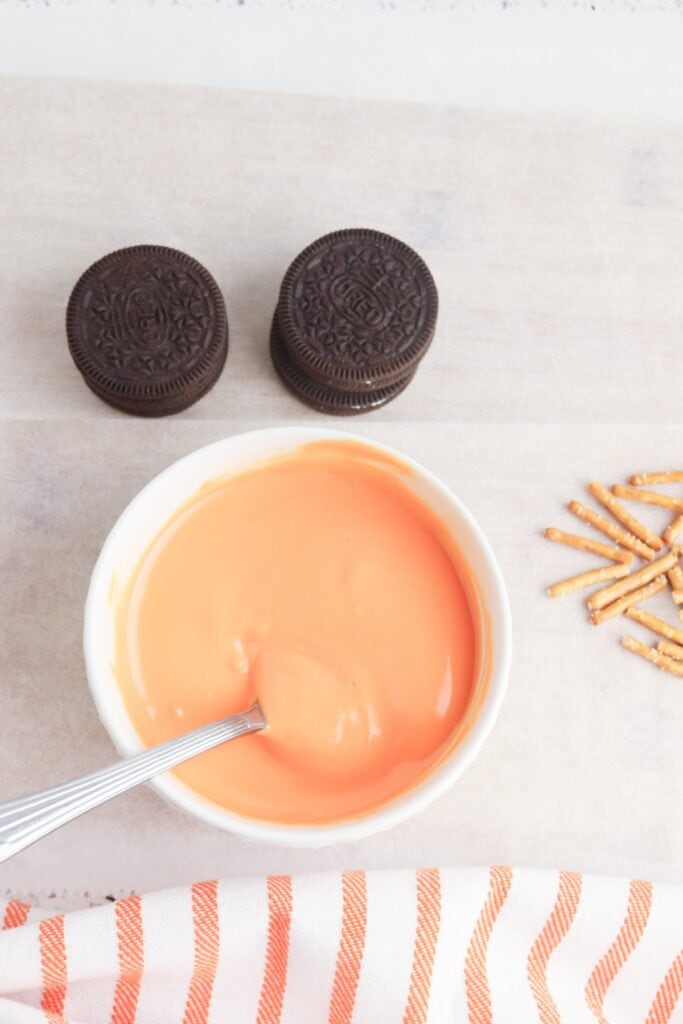
Step 2: Melt the Orange Candy
Follow the package instructions to melt the orange candy melts in a microwave-safe bowl. Stir until smooth.
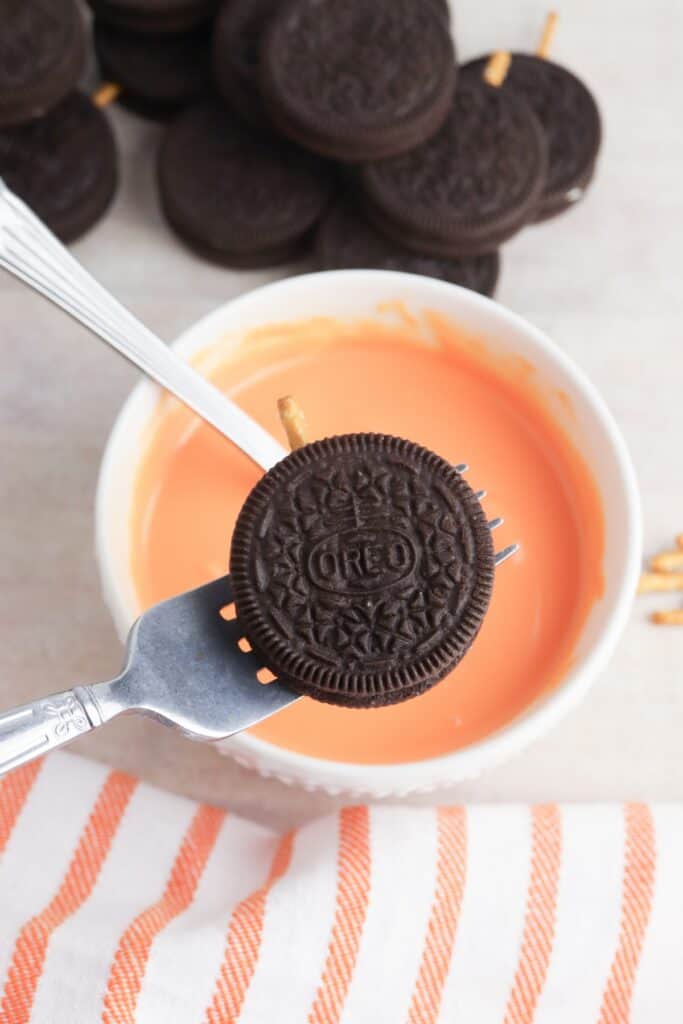
Step 3: Dip and Coat the Oreos
Place an Oreo on a fork, then spoon melted orange candy over the top until fully coated. Tap the fork on the edge of the bowl to let any excess drip off.
Step 4: Let Them Cool
Transfer the coated Oreo onto a sheet of parchment paper. Let the orange coating cool and harden completely before decorating.
Step 5: Decorate with Green Candy
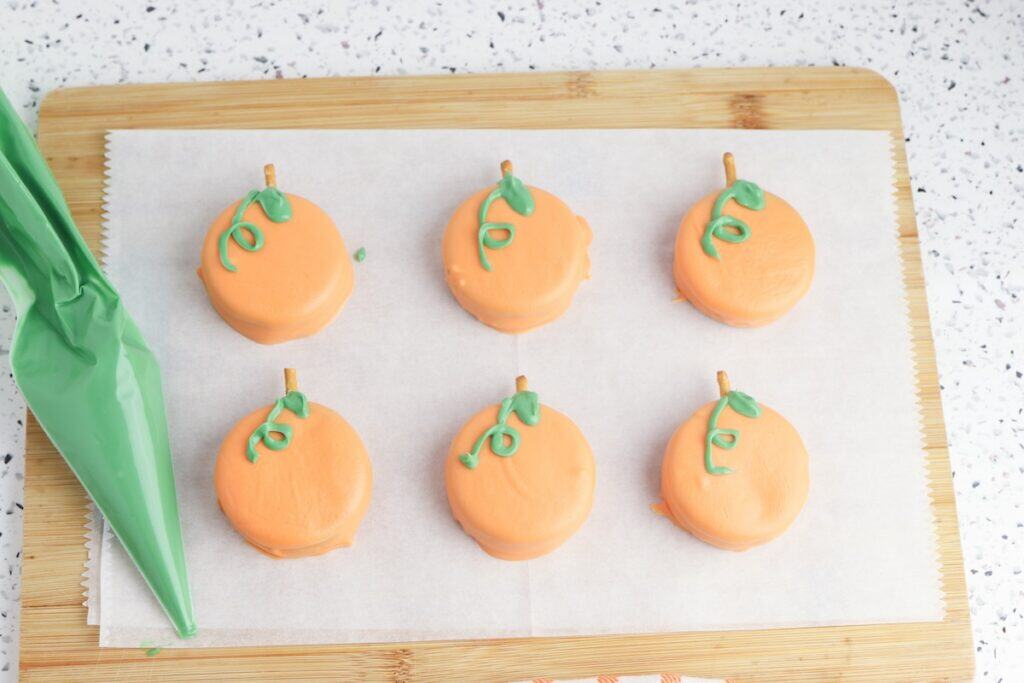
Melt the green candy melts and transfer the mixture to a piping bag (or use a plastic sandwich bag with the tip cut off). Pipe a small leaf and vine shape near the pretzel stem.
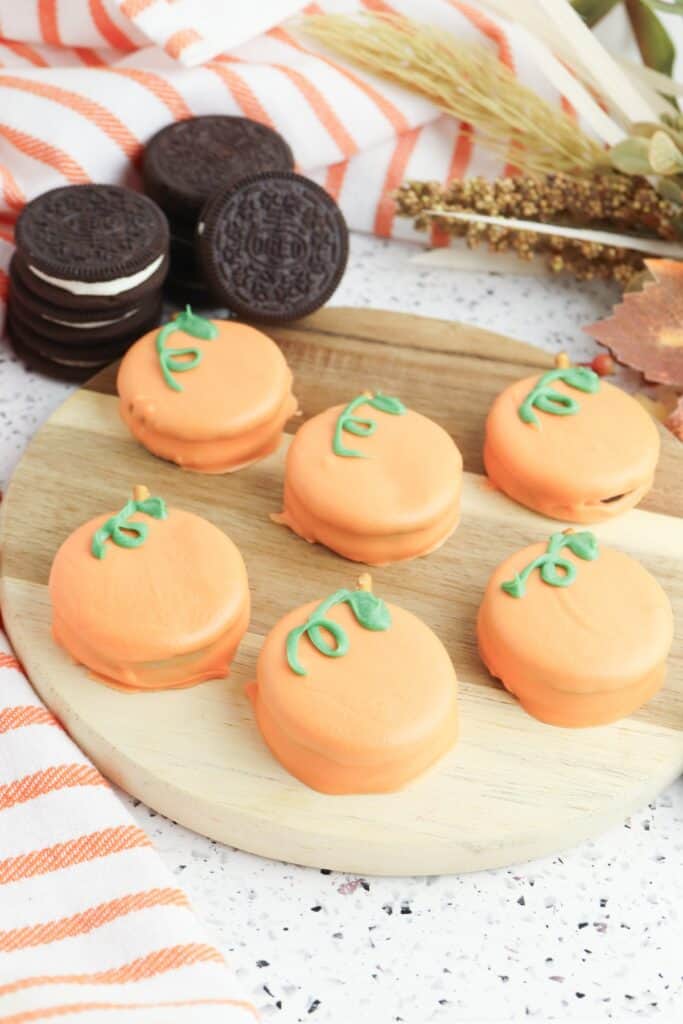
Step 6: Allow to Set
Let the green candy cool and harden. Once set, the pumpkins are ready to serve or package for gifting. Enjoy!
Tips and Notes
- Don’t Skip the Parchment: Lining your surface with parchment paper prevents sticking and makes cleanup much easier.
- Tap the Fork Gently: After coating the Oreo, lightly tap the fork handle on the bowl to create a smooth, even layer and let the excess drip off.
- Melt in Batches: If you’re making a full batch of 30, melt the candy coating in smaller portions so it stays silky and easy to work with throughout the process.
- Use a Fork, Not Tongs: A fork provides better control and allows excess coating to drip through the tines, resulting in a cleaner finish.
- Let Them Set Completely: Be patient! Wait until both the orange and green candy melts are fully hardened before handling or packaging.
Serving Suggestions
- Add to a Halloween Dessert Platter: These pair well with chocolate cupcakes, candied pretzels, or pumpkin-shaped sugar cookies for a festive spread.
- Wrap in Treat Bags: Place each pumpkin in a cellophane bag with a ribbon for cute party favors, lunchbox treats, or classroom gifts.
- Serve As Table Decor: Arrange a few pumpkins on a tray as edible centerpieces for a Halloween party or fall-themed dinner.
Storage and Reheating Instructions
- Store in a single layer in an airtight container at room temperature for up to 5 days.
- Avoid refrigerating, as this can cause the candy coating to sweat or crack.
- Do not freeze, since the pretzels may become chewy and the coating may discolor.
Easy Pumpkin Oreos
Ingredients
- 30 Oreo Double Stuf cookies
- 15 pretzel sticks broken in half
- 12 ounces orange candy melts
- ½ cup green melting candy
Instructions
- Gently press half a pretzel stick into the top of each Oreo cookie. Try to go through the cream center so the cookie stays intact.
- Follow the package instructions to melt the orange candy melts in a microwave-safe bowl. Stir until smooth.
- Place an Oreo on a fork, then spoon melted orange candy over the top until fully coated. Tap the fork on the edge of the bowl to let any excess drip off.
- Transfer the coated Oreo onto a sheet of parchment paper. Let the orange coating cool and harden completely before decorating.
- Melt the green candy melts and transfer the mixture to a piping bag (or use a plastic sandwich bag with the tip cut off). Pipe a small leaf and vine shape near the pretzel stem.
- Let the green candy cool and harden. Once set, the pumpkins are ready to serve or package for gifting. Enjoy!