Halloween Rice Krispie Treats
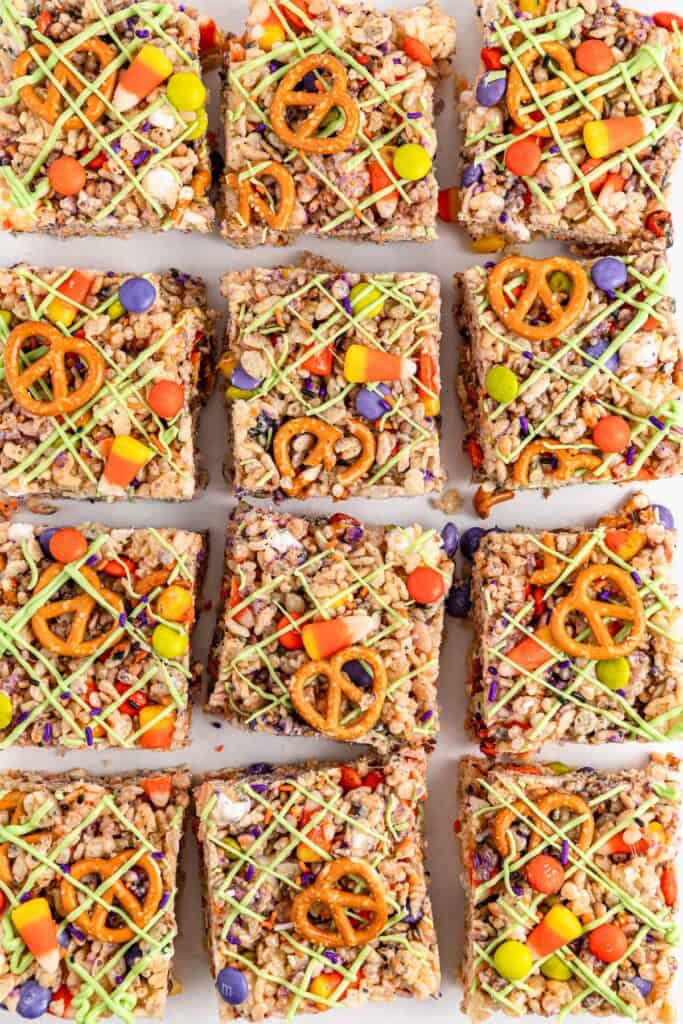
These fun Halloween Rice Krispie Treats are the kind of snack that brings a smile to everyone’s face. They’re colorful, chewy, crunchy, and filled with all the festive Halloween candy you love.

This is one of those go-to no-bake desserts for Halloween parties, treat bags, and cozy movie nights at home – trust me, they won’t last long!
If you’re planning a spooky celebration, be sure to check out my Ghost Rice Krispie Treats, Nutter Butter Ghost Cookies, Halloween Candy Bark, Oreo Spider Cookies, Halloween Oreos, and Halloween Rolo Pretzels for even more fun Halloween recipes!
Why You’ll Love This Recipe
- No oven required, so it’s perfect for little hands to help with.
- Chewy, crunchy, and loaded with fun textures and colors.
- Comes together in just 15 minutes – plus a little time to set.
- Totally customizable with your favorite Halloween candy or cereal swaps.
- Perfect for parties, lunchbox treats, or Halloween bake sales.
Ingredients

- Unsalted Butter: Adds rich flavor and helps the marshmallows melt smoothly. It also prevents sticking when combining everything together.
- Mini Marshmallows: Most are melted for the sticky base, while some are mixed in at the end to add gooey pockets throughout.
- Pure Vanilla Extract: Brings a warm, cozy flavor that balances the sweetness of the marshmallows and candy.
- Salt: Just a pinch of salt elevates and balances all the sweet flavors in the recipe.
- Rice Krispies Cereal: Light and crisp, this classic cereal gives the bars their signature chewy crunch.
- Halloween M&M’s: These colorful candy-coated chocolates add festive flair and little bursts of chocolate in every bite.
- Candy Corn: A Halloween classic that adds sweetness, chew, and seasonal charm to these sweet treats.
- Mini Pretzel Twists: Salty and crunchy, these help offset the sweetness and bring in some variety in texture. (Love that salty-sweet contrast!)
- Sprinkles: Adds a fun, colorful finish that makes the treats look extra festive.
- Green Candy Melts (optional): Great for a drizzled “slime” effect on top to make your treats even spookier.

Substitutions and Additions
- Cereal Swap: You can use Cocoa Krispies, Fruity Pebbles, or even Corn Flakes for a fun twist on flavor and texture.
- Different M&M’s: Peanut, crispy, or any seasonal mix can be used to change up the taste or color. (We used Ghoul’s Mix Milk Chocolate M&M’s.)
- Pretzel Variety: Sticks, snaps, crisps, or waffle-style pretzels all work – whole or broken into small pieces.
- Skip the Pretzels: The pretzels help to balance out the sweetness from the candy, but you can replace them with the same amount of Rice Krispies cereal. If you do, add an extra ⅛ teaspoon of salt to keep the flavor balanced.
- Nut Option: Chopped peanuts or almonds add extra crunch and cut through the sweetness.
- Chocolate Drizzle: White, milk, or dark chocolate chips melted and drizzled can replace candy melts for a different flavor.
Step by Step Instructions
Prepare Your Pan
Start by lightly greasing a 9×13-inch baking pan with cooking spray. This helps the parchment paper stay in place and prevents the treats from sticking.
Then line the pan with parchment, letting a little hang over the edges for easy lifting later. Prepping the pan ahead of time makes the process smooth and cleanup much easier.
Melt the Butter and Marshmallows
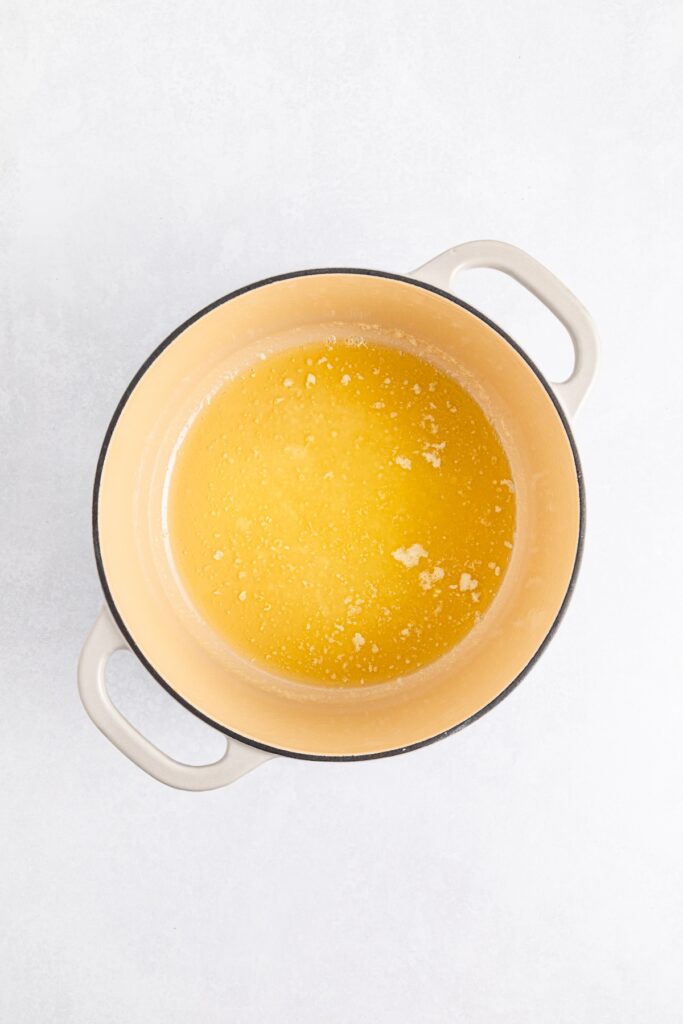
In a large, heavy-bottomed pot, melt the butter slowly over low heat. You don’t want to rush this part – low and slow is key to keeping the mixture creamy and preventing any browning.
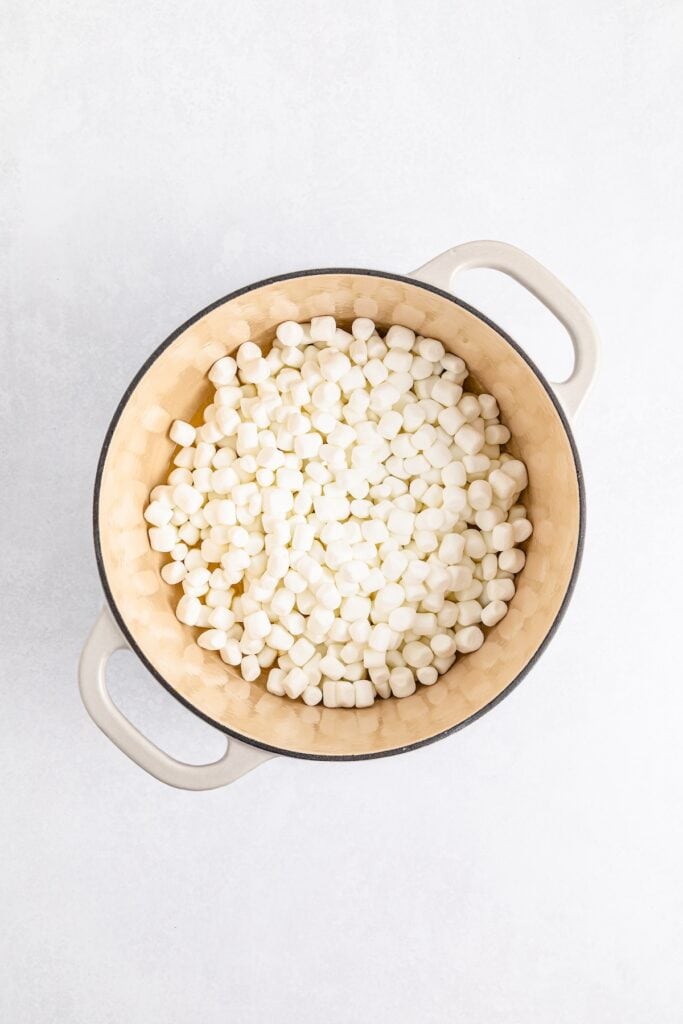
Before adding the marshmallows, scoop out 1½ cups and set them aside to stir in later for added texture.
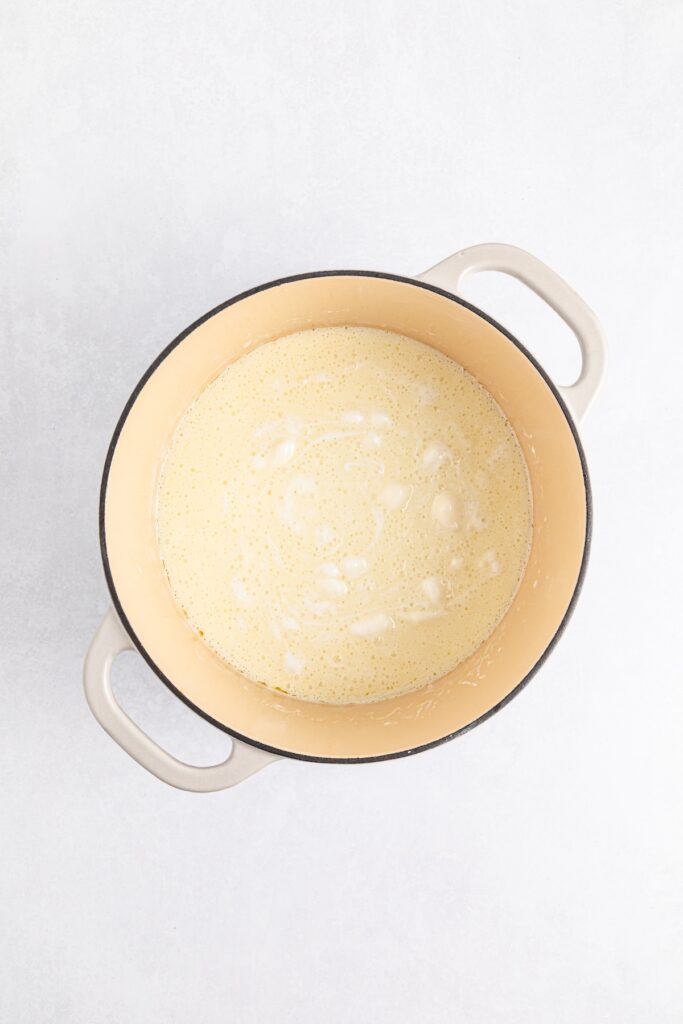
Add the remaining marshmallows to the pot and stir constantly until they’re completely melted into a smooth, glossy mixture. A silicone spatula works great for this step.
Add Vanilla and Salt
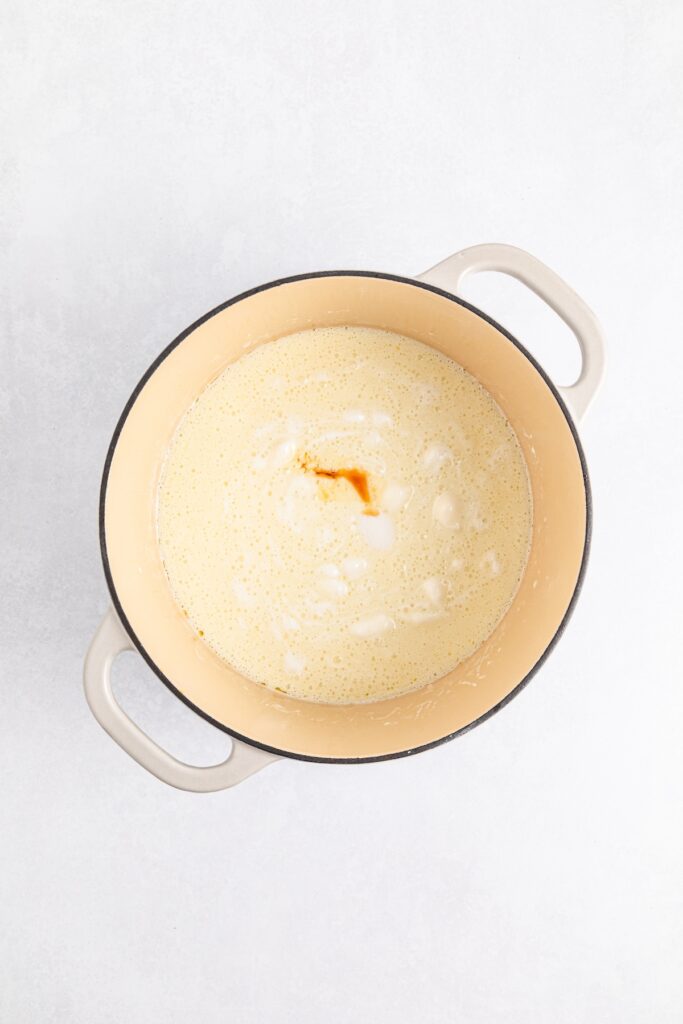
Remove the pot from the heat as soon as the marshmallows are melted. Stir in the vanilla extract and salt, mixing thoroughly to evenly incorporate the flavor.
The vanilla brings warmth and the salt helps balance out the sweetness, so don’t skip this step even if it seems small – it makes a big difference.

Mix In the Cereal and Add-Ins
Working quickly (before the mixture cools too much), fold in the Rice Krispies cereal. Add the reserved marshmallows, mini pretzel twists, Halloween M&M’s, candy corn, and sprinkles.
Stir gently but thoroughly, making sure all the cereal is coated and the mix-ins are evenly distributed throughout the gooey base. Be careful not to crush the cereal or candy as you mix.

Press into Pan
Transfer the mixture into your prepared pan. Use a rubber spatula to press it down into an even layer.
The key here is to press gently – pushing too firmly will make the bars dense and hard instead of soft and chewy. Take your time to get a nice, even surface.

Add Candy Drizzle (Optional)
If you’re using green candy melts, place them in a microwave-safe piping bag or bowl and heat on a low or defrost setting in 30-second bursts.
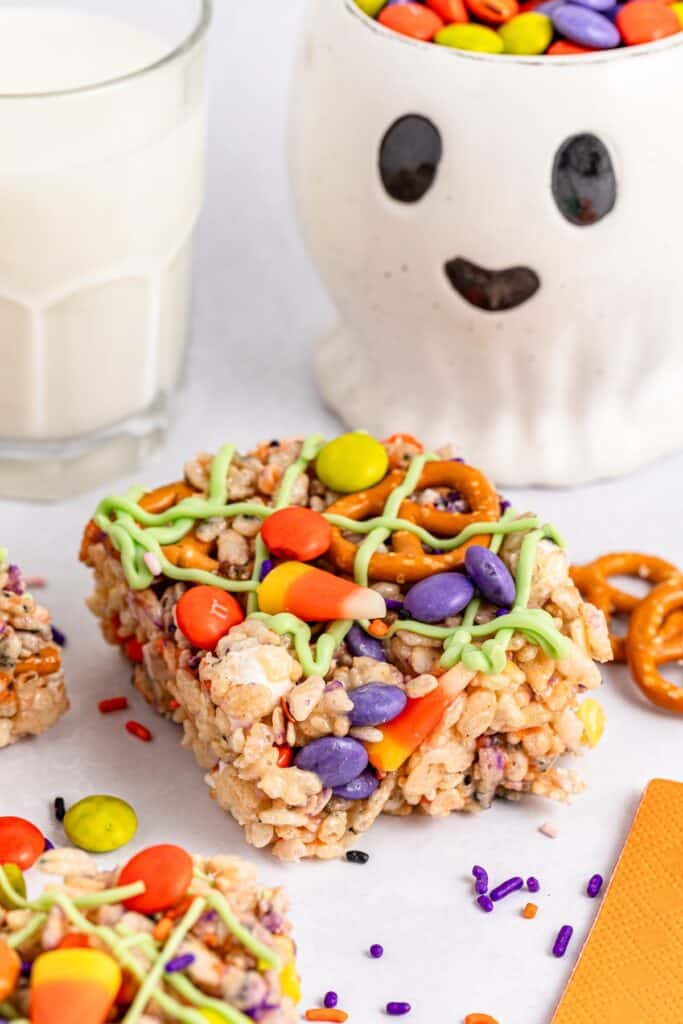
Massage the bag between intervals to distribute the heat and avoid burning. Once melted and smooth, snip off the tip of the bag and drizzle in a zigzag pattern over the surface of the treats for a festive “monster slime” look.

Top and Cool
While the drizzle is still tacky, sprinkle on a few extra M&M’s, candy corn, pretzel pieces, or more sprinkles to decorate the top. This step makes them extra fun and photogenic!
Let the pan cool at room temperature for at least 30 minutes to 1 hour, until everything is set and easy to cut.

Cut and Serve
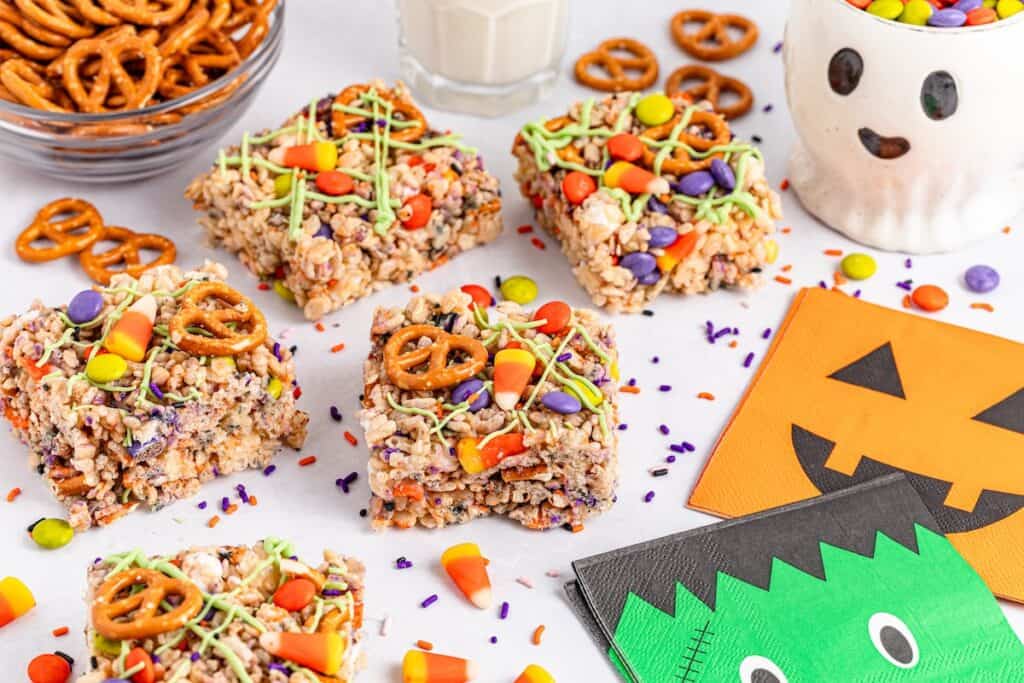
Once the treats have cooled and set, grab the edges of the parchment paper to lift the whole slab out of the pan. Place it on a cutting board and use a sharp knife to slice into 12 even bars.
If you want really clean edges, wipe the knife with a damp cloth between cuts. Serve and enjoy your festive Halloween Rice Krispie Treats!
Tips and Notes
- Stir Gently When Folding in Candy: This helps keep the M&M’s intact so their colorful shells don’t crack or bleed into the mixture.
- Avoid Pressing The Mixture Too Hard: Lightly smoothing the mixture into the pan helps keep the bars soft and chewy rather than dense and hard.
- Let Candy Melts Cool Slightly Before Drizzling: Cooling the melts just a bit helps control the flow and gives you a neater, more precise drizzle.
Serving Suggestions
- Pair with hot chocolate or apple cider at a fall gathering.
- Serve on a Halloween dessert board with cookies, popcorn balls, and candy.
- Wrap in cellophane bags tied with festive ribbon for party favors.

Storage and Reheating Instructions
- Store in an airtight container at room temperature for up to 2 days.
- Avoid refrigerating – the cold makes them too hard and chewy.
- If they start to dry out, wrap them tightly in plastic wrap to keep them fresher longer.

Halloween Rice Krispie Treats
Equipment
- Large pot
- 9×13 Baking Pan
- Parchment paper
- Rubber Spatula
Ingredients
- ½ cup 1 stick unsalted butter
- 14 ounces mini marshmallows divided
- 1 teaspoon pure vanilla extract
- ⅛ teaspoon salt
- 7 cups rice krispies cereal
- 1 cup Halloween M&M’s
- 1 cup candy corn
- 3/4 cup mini pretzel twists
- ¼ cup sprinkles
Optional toppings:
- ¼ cup green candy melts drizzled on
Instructions
- Start by lightly greasing a 9×13-inch baking pan with cooking spray. This helps the parchment paper stay in place and prevents the treats from sticking.
- Next, line the pan with parchment, letting a little hang over the edges for easy lifting later. Prepping the pan ahead of time makes the process smooth and cleanup much easier.
- In a large, heavy-bottomed pot, melt the butter slowly over low heat. You don’t want to rush this part – low and slow is key to keeping the mixture creamy and preventing any browning.
- Before adding the marshmallows, scoop out 1½ cups and set them aside to stir in later for added texture.
- Add the remaining marshmallows to the pot and stir constantly until they’re completely melted into a smooth, glossy mixture. A silicone spatula works great for this step.
- Remove the pot from the heat as soon as the marshmallows are melted. Stir in the vanilla extract and salt, mixing thoroughly to evenly incorporate the flavor.
- Working quickly (before the mixture cools too much), fold in the Rice Krispies cereal. Add the reserved marshmallows, mini pretzel twists, Halloween M&M’s, candy corn, and sprinkles.
- Transfer the mixture into your prepared pan. Use a rubber spatula to press it down into an even layer.
- If you’re using green candy melts, place them in a microwave-safe piping bag or bowl and heat on a low or defrost setting in 30-second bursts.
- Massage the bag between intervals to distribute the heat and avoid burning. Once melted and smooth, snip off the tip of the bag and drizzle in a zigzag pattern over the surface of the treats for a festive “monster slime” look.
- While the drizzle is still tacky, sprinkle on a few extra M&M’s, candy corn, pretzel pieces, or more sprinkles to decorate the top. This step makes them extra fun and photogenic!
- Let the pan cool at room temperature for at least 30 minutes to 1 hour, until everything is set and easy to cut.
- Once the treats have cooled and set, grab the edges of the parchment paper to lift the whole slab out of the pan. Place it on a cutting board and use a sharp knife to slice into 12 even bars.
- If you want really clean edges, wipe the knife with a damp cloth between cuts. Serve and enjoy your festive Halloween Rice Krispie Treats!